Artisan Chocolate at Home
When Scott and I first discovered the difference between real chocolate and candy chocolate we were hooked. There was no going back. We started purchasing chocolate one bar at a time (we have a great selection here in Utah) and then allotted ourselves one square a day since a single bar can range from around $8 to $20! We had to do something or we would go broke on chocolate. Thus was born for us the art of bean to bar chocolate at home.
Real chocolate is usually just three simple ingredients: cocoa beans, cocoa butter, and sugar. Once in a while, a chocolate maker will add vanilla and, of course, it’s easy to find chocolate with additions such as salt or dried fruit, but beans, butter, and sugar are the only essentials. Chocolate making does require one specialty appliance, a grinder (melanger). We use a fairly inexpensive one
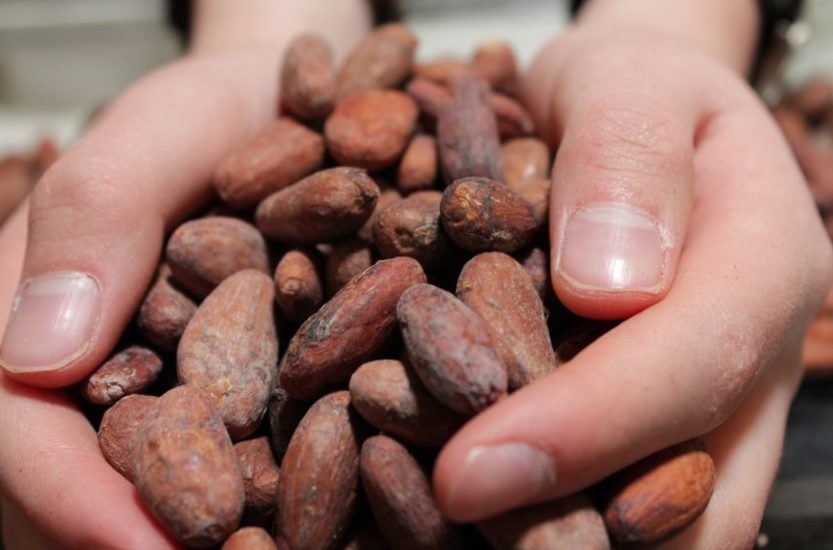
The first step in chocolate making is to find a source for your beans. We have found a good source online at chocolatealchemy.com. The Chocolate Alchemist sources cocoa beans from all over the world and offers a large variety of different beans. Another option, and our preferred option, is to source your beans locally. We have done this by finding local chocolate makers and calling them directly. It’s been our experience that chocolate makers are a friendly group of people and most want to help out. You should be able to purchase cocoa butter wherever you purchase your beans.
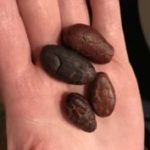
Once you have the raw beans it’s time to roast them. Roasting is an art form in and of itself and the most efficient and successful way to roast is with a dedicated roasting oven. However, due to the price, around $300-$400, and lack of space for one more appliance we have chosen to roast our beans in the oven. It takes more effort on our part and it doesn’t give a roast that is quite as even, but we have still found good results. The basic method is as follows: Preheat a glass casserole dish in the oven until the oven reaches between 375 and 400 degrees. At this point add the beans and roast for six minutes. After six minutes, give them a stir and check their temperature (we use an infrared thermometer). Repeat this process turning the oven down 25 degrees each time. Continue doing this until the temperature of the oven is set to 300 degrees. Once the oven reaches 300 degrees continue stirring the beans every six minutes until they are done.
So when are they done? This is a simple question that is not so simple to answer. It depends on whether you like a darker or lighter roast and it depends on the type of bean you are using. This is largely a matter of trial and error. My recommendation is to start out roasting your beans to between 290 and 310 degrees. They will make your entire house smell like fresh-baked brownies and the shells may start to crack.
Once your beans are roasted the next step is to remove the shell (referred to as cracking and winnowing). We prefer to crack and peel each bean by hand. It takes a long time but it’s a very relaxing process (we may need to get out more) and it results in almost no loss of beans.
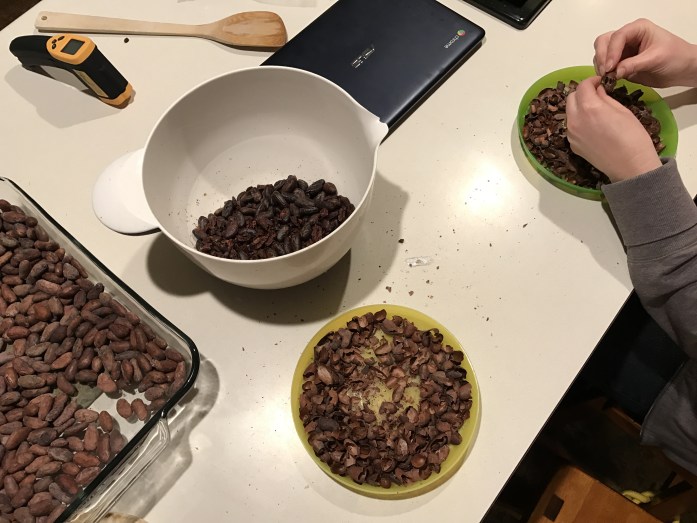
The other option is to use a rolling pin and hair drier. Start by breaking up the shelled beans in a freezer bag with the rolling pin. Once the beans are broken into small pieces dump them into a large bowl and toss them while blowing them with a hair dryer until the shells, which are lighter, blow away and you are left with just the inside of the bean. This process takes much less time, but you will want to do it outside because it creates a large mess and it results in some loss.
The other option is to use a rolling pin and hair drier. Start by breaking up the shelled beans in a freezer bag with the rolling pin. Once the beans are broken into small pieces dump them into a large bowl and toss them while blowing them with a hair dryer until the shells, which are lighter, blow away and you are left with just the inside of the bean. This process takes much less time, but you will want to do it outside because it creates a large mess and it results in some loss.
Whichever method you choose, you will now have a bowl of nibs or cocoa bean pieces. If you wish to skip the previous steps, many companies will sell roasted and winnowed nibs ready to make into chocolate. We prefer to roast our own beans so this is not something we’ve ever done. Also, it’s more expensive to buy the nibs as opposed to the raw beans.
It’s now time to warm the melanger and then dig deep into the portion of your brain that is storing your memories of junior high math. To warm up the melanger simply turn your oven on as low as it will go and let the bowl and stones sit in the oven while you get everything else together. Next, weigh your beans (in grams) and add your desired amount of butter. We usually calculate the butter between 5% and 7% of the total weight of the nibs. Add the weight of the nibs and butter and use this number to determine how much sugar to add to the mix. Use the following equation:

 = sugar (grams)
 = desired percentage of cocoa
 = cocoa (including butter) (grams)
Cocoa Percentage Calculator
This makes calculating how much sugar to add a breeze. Adjust the grams of cocoa and percentage and the sugar will be automatically calculated below.
Total cocoa (nib + butter)
grams
Desired cocoa percentage
Amount of sugar to add
(grams)
Once you have the correct amounts of nibs, sugar, and cocoa butter you can start adding them to the melanger. Do this slowly! If the nibs are added to the melanger too quickly they can jam the wheels and bind the melanger. I don’t know that there is any magic to the order in which the ingredients are added but we usually add the butter first (melted in the microwave), then nibs, and then sugar.
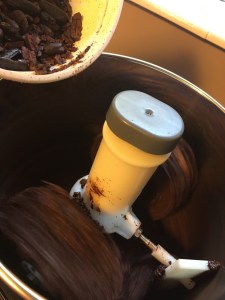
Adding nibs to the melanger
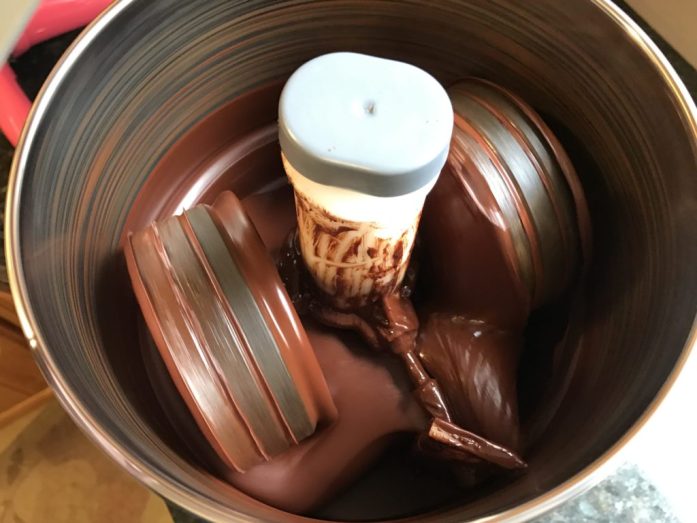
And now we come to the waiting game. Initially, the melanger will break the nibs down and refine them into a smooth liquor but the harsh flavors will take longer to be refined through a process called conching. This just takes time. We have allowed our chocolate to run in the melanger for anywhere from 18 to 36 hours.
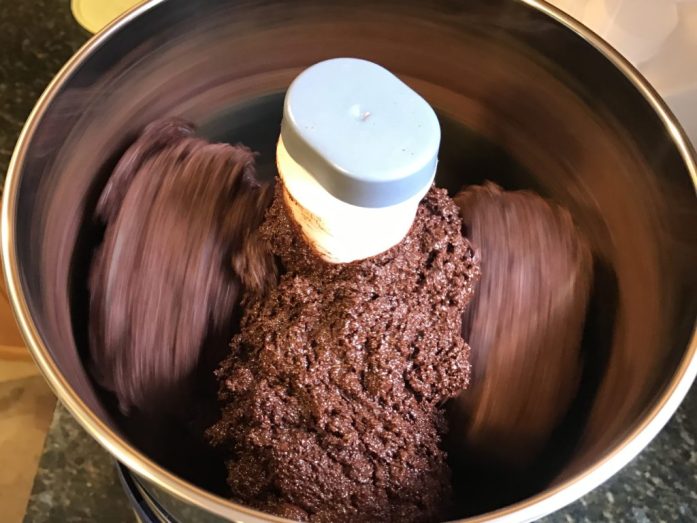
Shortly after adding the nibs
~1 hour after adding the nibs
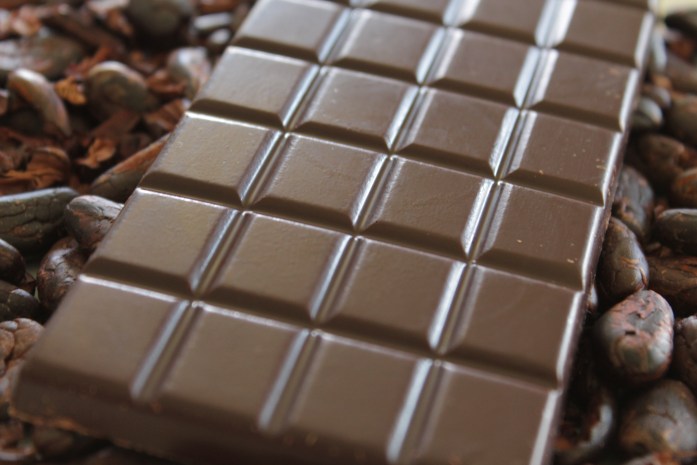
Tempering is the next step in the process and also the most difficult. It is through tempering that the correct chocolate crystals are formed. A correctly tempered chocolate will be smooth, shiny and uniform in color and will have a nice snap when it’s broken. If chocolate is not tempered correctly it will have a marbled look to it and it will be grainy. It also doesn’t taste very good because it doesn’t melt uniformly. In small, home batches it can be very difficult to temper correctly with temperature so we use something called cocoa butter silk to temper.
Cocoa butter silk is cocoa butter that has been held at a consistent temperature for an extended period of time. This allows the correct crystal structure to form and when it’s added to the chocolate it acts as a seed for the chocolate to form the correct crystalline structure. Silk can be made at home with a sous vide, but when we first started using it we purchased it from chocolatealchemy.com. To use silk bring your melted chocolate to a temperature of 95 degrees and grate about an ounce of silk into the chocolate. Stir it in and let it sit for a few minutes to melt and then it’s then ready to pour.
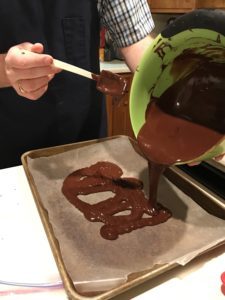
If you don’t have molds, your chocolate can be poured onto wax paper to cool. However, molds are not very expensive and can be easily found on Amazon or, locally, at craft and candy supply stores. Once you pour the chocolate into the molds tap them to spread the chocolate out and work any air bubbles to the surface. Try not to scrape the surface of the chocolate as this can disrupt the crystal structure and cause marbling on the surface of the chocolate. FInally, allow the chocolate to cool at room temperature and then enjoy!
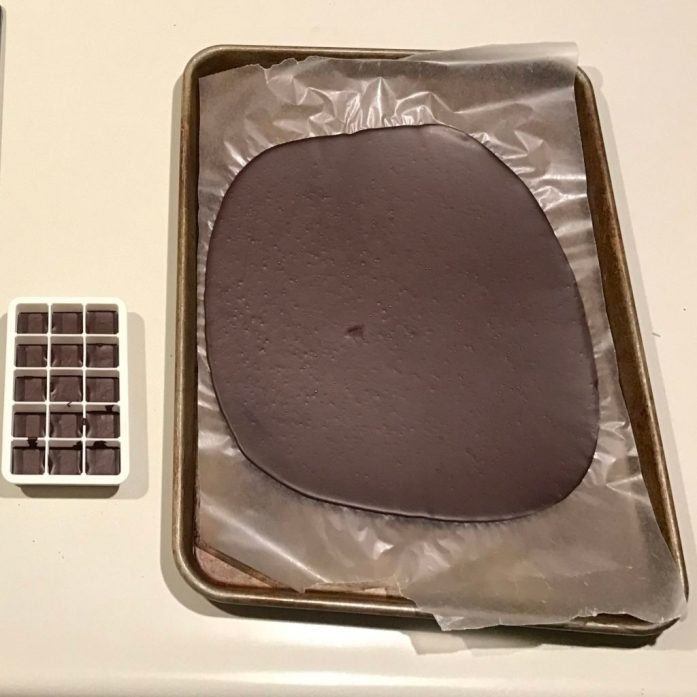
Our very first batch of chocolate!
Just to recap:
- Purchase your beans.
- Roast and enjoy the marvelous smell as it permeates your house.
- Crack and winnow the beans.
- Determine correct amounts of sugar, butter, and beans.
- Preheat the melanger and add the ingredients.
- Refine and conch the chocolate.
- Temper
- Pour
- Enjoy!!